Welcome to my introduction to resin casting. Resin casting is the process of taking, you guessed it, resin and using various molds and supplies in order to create a unique and colorful item to be used in a range of processes including woodworking, woodturning, knife making, and much more. Sometimes resin casting is used to create jewelry or beautiful pieces of art as well. There is a lot involved from start to finish so continue reading for more information on how the whole process works.
Resin comes in many flavors, but we will be focusing on Polyester Resin (PR), Polyurethane Resin, and Epoxy Resin.
Polyester Resin
Pros: Resilient, cures hard, can be polished to a high gloss, cheaper cost
Cons: Can yellow over time. Can cause extremely strong odors, must be used outdoors or with strong ventilation.
Polyurethane Resin
Pros: Highly impressionable, low VOC, clarity
Cons: Moisture sensitive
Epoxy Resin
Pros: Cures strong and hard, Low VOC, no shrinkage, moisture resistant
Cons: Cost
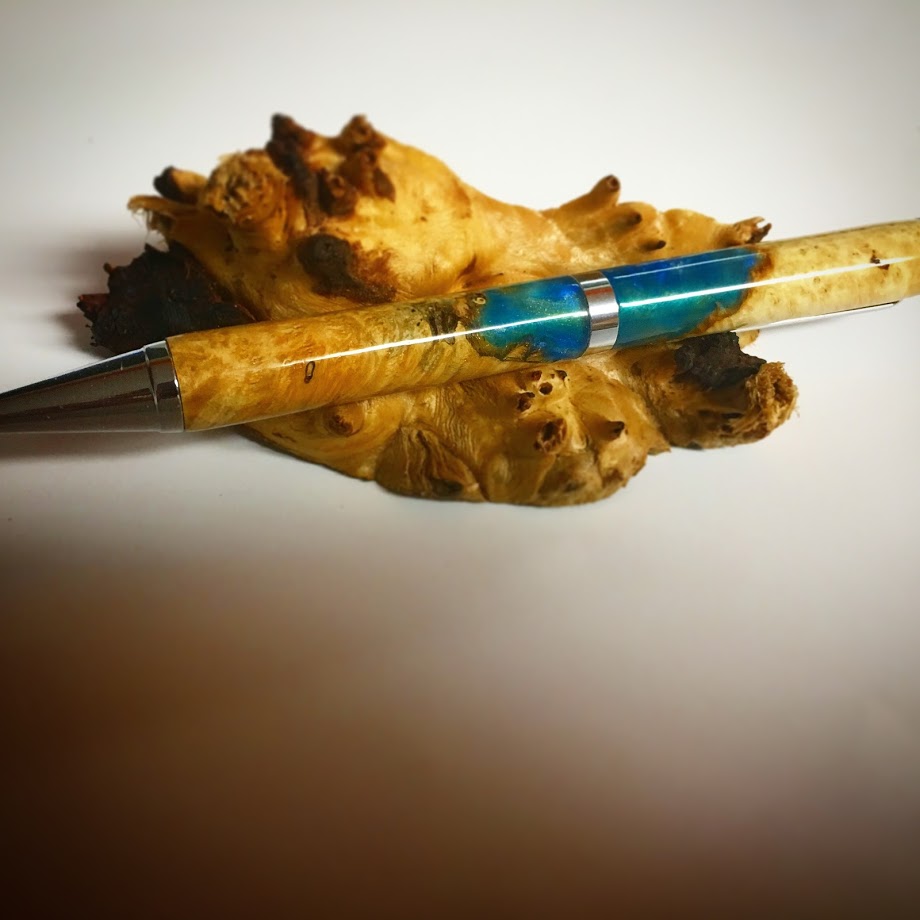
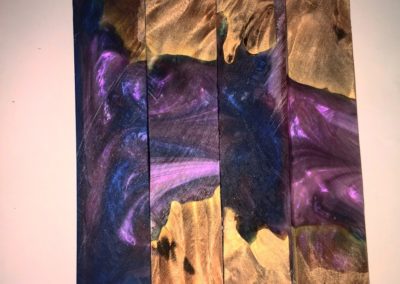
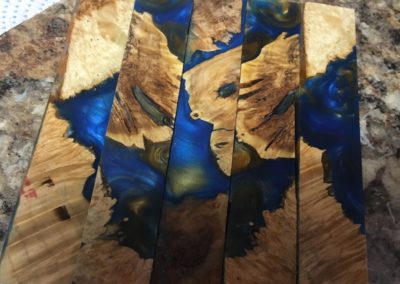
This is an example of a resin casting I did using stabilized maple burl wood and Alumilite Clear Slow urethane resin.
Link: Alumilite Clear Slow
I will be doing another blog on stabilizing as it is fairly involved as well, but is basically impregnating the wood with resin to make it more stable. This can be an important step in casting as well as it will help remove the moisture from the wood which can cause numerous issues when trying to cast especially with Alumilite.
All steps are after any necessary stabilization.
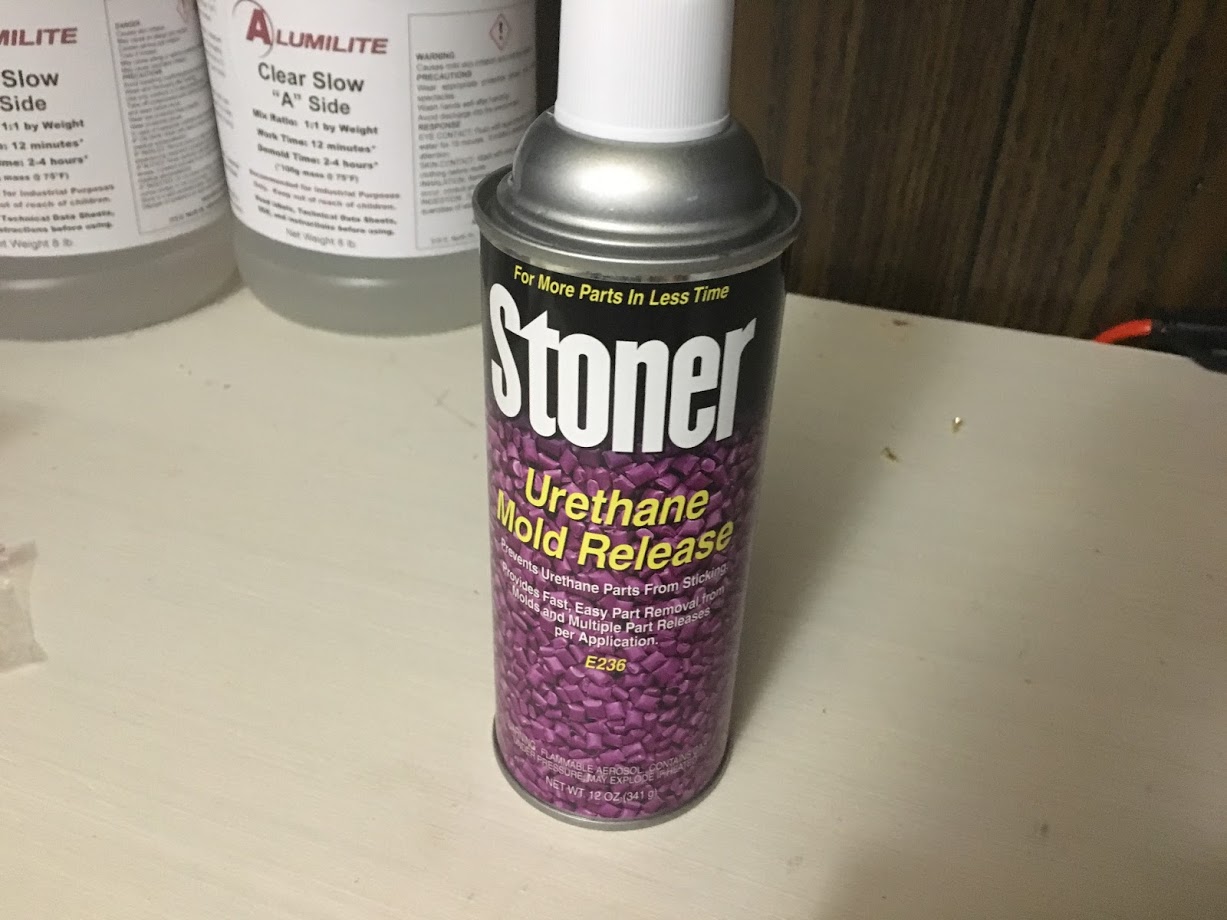
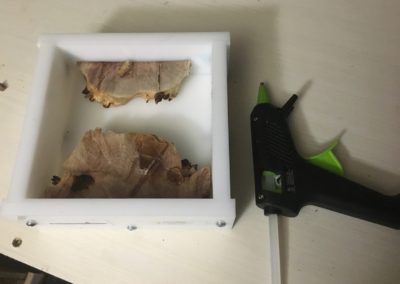
Step One: After you have your wood or other items prepared for casting, you are ready to being. You can use a mold release like the Stoner’s Urethane Mold release. If you use this then hot glue will not hold your item down in case it floats, but I have not any issues with any items yet as most are stabilized. Also I have used my HDPE mold without a release and it seemed to release the same as using it.
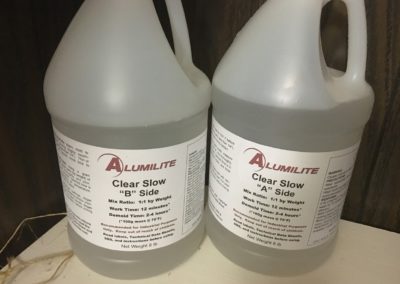
Step Two: I use Alumilite Clear Slow so all further instructions will be towards that specific resin and what has worked for me.
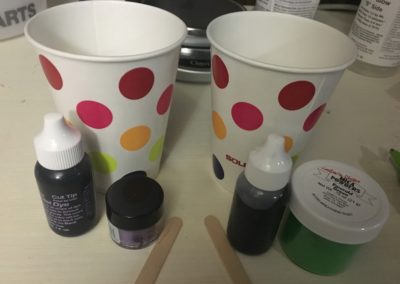
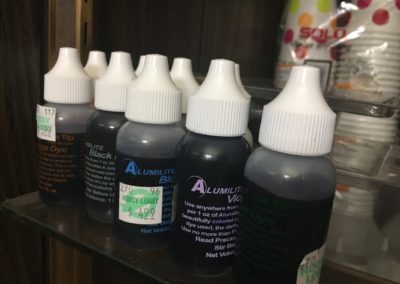
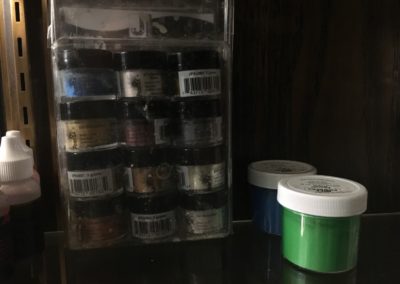
Alumilite Clear Slow is mixed Part A and Part B at a 1:1 ratio by weight. I use a simple kitchen scale to weigh each part in grams to get an accurate reading. First I take some rice and fill the cavity to determine an approximate volume size I need to mix. After I have an approximate volume I place a cup on the scale and reset it to zero. I mix the appropriate amount of Part A into the cup. I then start mixing my dyes or mica powders into Part A. Once this is complete I can then place the cup back on the scale and reset and then add the amount of Part B in to the cup and mix.
Step Three: I typically try to mix each cup for 30 seconds making sure to scrape the sides to not miss any dye/powder. Once both parts are mixed together the resin will start to cure so you have limited time to get it into the pressure pot. Alumilite Clear Slow has a working time of about 12 minutes. The easiest way I have found from lots of research and advice on the internet is to use an infrared thermometer to determine when the resin is ready to be poured. If you pour too soon it will mix too much and ruin the color. I typically wait until all resins have reached at least 95°F.
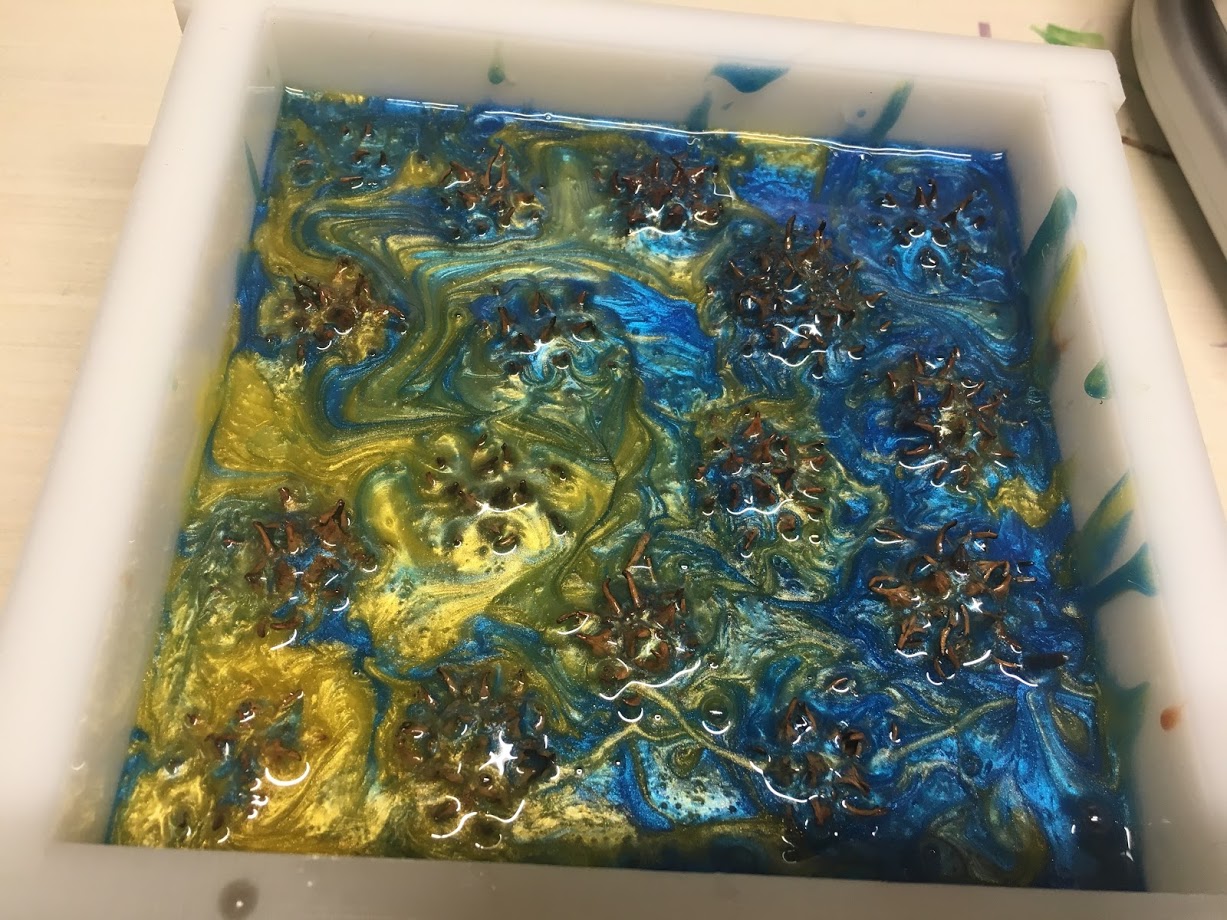
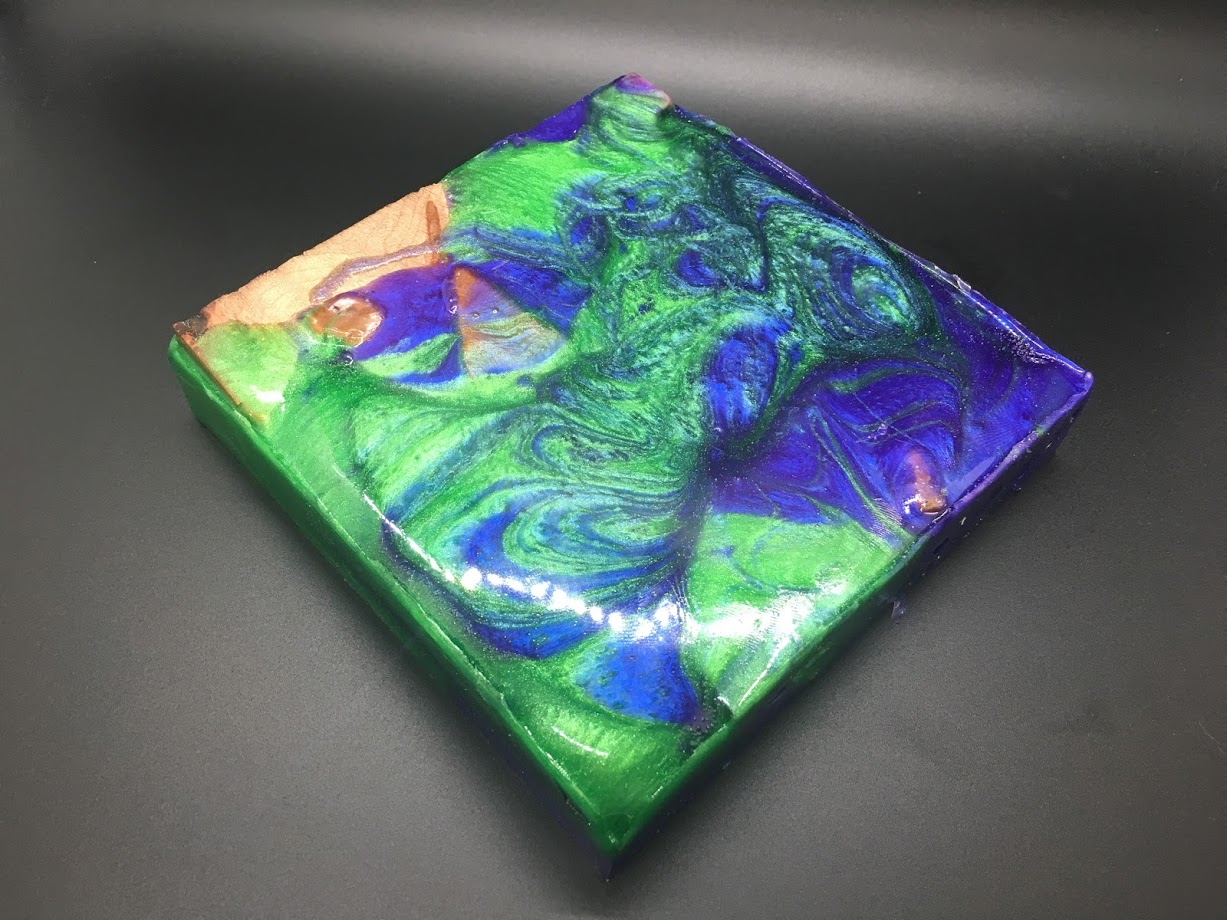
Step Four: Once the resin is over 95°F you can begin pouring into your mold. There are many techniques to this, but no need to over complicate it. I pour all colors as much as I can all over. After all resin is in I use a wooden dowel and stir the colors together a bit to create swirls and designs. There is no right or wrong method to this, make it however you want.
Step Five: Now it is time to place your resin and mold into the pressure pot. A pressure pot helps reduce bubbles that occur during the curing process to provide a crystal clear resin. Pressure pots are inherently dangerous so please research proper usage. Mine is a California Air Tools 5 Gallon (365-B) that I converted from a paint pressure pot. Basically just replacing the middle paint agitator with a bolt and rubber washers. Once your mold is in the pot you will need to pressurize it using an air compressor. I use between 40-60psi depending on what I am doing.
Step Six: Depending on your resin you will need to let it sit under pressure for some time. I usually leave Alumilite Clear Slow in the pot for at least two hours. I let it sit in the mold for at least four hours as well so it has time to cure more. Once it is out of the mold you can start on your next resin project. I will usually let the resin block sit for a couple days to let it fully cure before cutting it up, but that may be overkill.







Sweet
I liked what you said about how you will want to put the resin in a pressure pot. I didn’t realize that doing that will help reduce bubble production. Also, it might be smart to get a professional to help with casting the materials as well.